The short answer
Price a repair and repaint for an isolated chip once the cause has been addressed. Where carts repeatedly strike the same outside corner, ask for a separate fitted guard option. Give bidders the contact height, wall condition and corner dimensions so they can price protection for the actual turn.
Walk the turn with someone who moves the carts
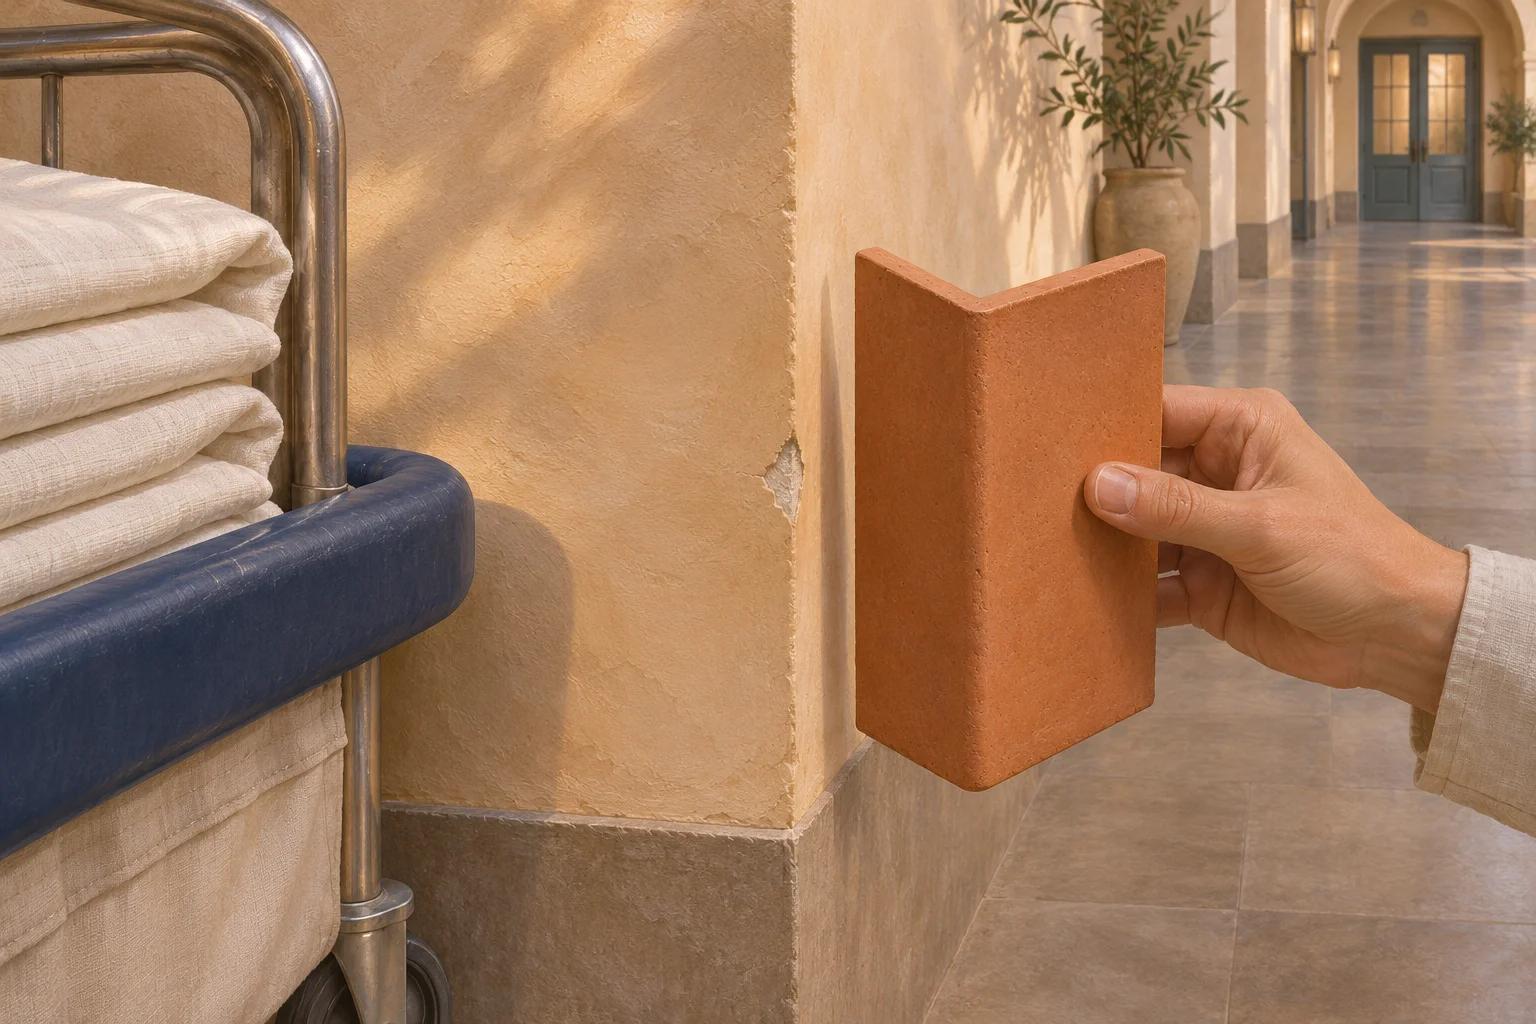
Suppose a Saskatoon building manager finds two chipped corners before a corridor repaint. One was hit during a furniture move. The other loses a piece of its edge after almost every linen delivery. They may look alike in the tender photos, but only one has a recurring route problem.
Give each corner an identifier on the floor plan. Ask staff which cart uses the turn, where it makes contact and whether moving a storage bin would give it a wider approach. Photograph the damage beside a scale. Record the lowest and highest marks and how far they extend along each wall face. If the marks are well beyond the corner, flag that area separately.
Ask the painter to distinguish paint loss from damage to the wall beneath it. A loose corner bead needs a repair decision before anyone covers it. For the furniture-move corner, request a repair price and define where the new finish will stop. For the delivery corner, carry the same repair line plus a separate protection option.
Check the sample against the damage footprint
The wing is the piece of the guard that lies along each face of the wall. Hold a loose sample against the corner. Does the profile fit the angle and rounded or square nose? Will both wings cover the contact marks? Mark the proposed ends against the actual base trim and check the nearby door swing with the installer.
A clear guard can preserve the appearance of a painted wall. Inpro describes its clear polycarbonate range for light impacts and offers different angles and wing widths. A transparent sample may look right while leaving a wide strike mark exposed. Ask the supplier to identify the model suited to the observed traffic before accepting the colour or finish.
Reference: Inpro clear corner guards — intended use and profile options
Price the complete assembly and its attachment
For a harder-working turn, a bidder may propose a cover on a fixed retainer. Inpro’s 150 model, for example, has a continuous aluminium retainer, a cover and caps for a 90-degree corner. Ask for the proposed profile, mounting hardware and installed projection. A product family name alone leaves the installer and buyer guessing what the price includes.
Send the supplier the wall construction, finish and a photo of the base detail. Have the installer confirm the attachment and identify any backing, repairs or access needed. If the proposed assembly changes the space available at a tight doorway, get the layout reviewed before ordering. Keep that corner provisional until the fit is resolved.
Reference: Inpro 150 surface-mounted corner guard — assembly and profile
Set the handoff between painting and installation
An adhesive-backed guard needs a compatible surface. Inpro’s clear polycarbonate instructions call for a clean, dry surface free of loose paint and advise against the self-adhesive version in heavy traffic and on certain difficult surfaces. Have the installer check the selected model’s instructions against the actual finish. Agree when newly painted surfaces can receive it.
Issue one schedule to all bidders. For each corner, list repair and repaint as the base price, then show any guard as a separate installed amount. Name who supplies the guard, prepares the wall, approves the attachment and returns for installation. Ask what a future damaged cover or cap would take to replace. This lets the manager compare a complete installed option with the cost and disruption of repeat repairs.
At the first completed corner, have the manager and installer check alignment with the marked contact zone, fit at the base and clearance at the door. Record the accepted model and finish before ordering the balance. Bring the corner schedule to a PainterzRus repaint discussion and confirm separately who will provide the protection work.
Reference: Inpro clear polycarbonate corner guards — substrate and adhesive restrictions
Keep this for your project
Your planning checklist
- Mark each corner and record the cause, frequency and extent of contact.
- Separate finish repairs from loose or damaged wall components.
- Compare a profile sample with the contact zone, base trim and door swing.
- Get the supplier’s model selection and the installer’s mounting detail.
- Request separate repair and installed guard prices against the same corner list.
- Approve the first fitted corner and retain the replacement part details.
Should every outside corner in a repainted corridor get the same guard?
Group corners by damage history, geometry and traffic. Repaint a sound corner with an isolated blemish. At repeated impact points, choose the profile and mounting detail for that location. One typical detail can cover several corners once the installer confirms they match.
Put the planning into practice
Download the free quote comparison kit to compare the work behind each price, or build your commercial project brief before requesting an estimate. No email required to use either tool.
Discuss your commercial project
For tenant turns, corridors and repeat refreshes, explore the scope and handover questions covered by our commercial property maintenance painting service.
Have a location and a rough scope? Request a commercial painting quote with the details you have. Access, timing and project requirements can then be reviewed for your property.
A planning guide from PainterzRus, a commercial painting business in Saskatoon. Not a site-specific coating specification, safety assessment or price quotation. Confirm requirements for your property before work begins.